Be Ready to Dye
Growing and dyeing with fresh leaf indigo
My Indigo Gardening Experience
After growing indigo two summers in Seattle and Portland, I’ve discovered that the plant does not like a full day of direct sun. Maybe it is because I grow them in containers and maybe it is because I do not fertilize them. I was expecting them to love sun because I have seen many pictures of indigo farms with rows and rows of indigo plants growing in open exposed fields. Mine really don’t do well in full summer sun.
In my first summer, I planted Japanese indigo (Persicaria tinctoria) on a northern balcony nearby a cluster of tall cedar trees. The leaves were full and the plant looked healthy. The leaves even had a tint of dark blue. I had another batch growing in containers that were exposed to the sun all day, over 12 hours of direct light. The leaves were light colored green, no blue, not dark, and not as full. Some of the leaves turned completely yellow.
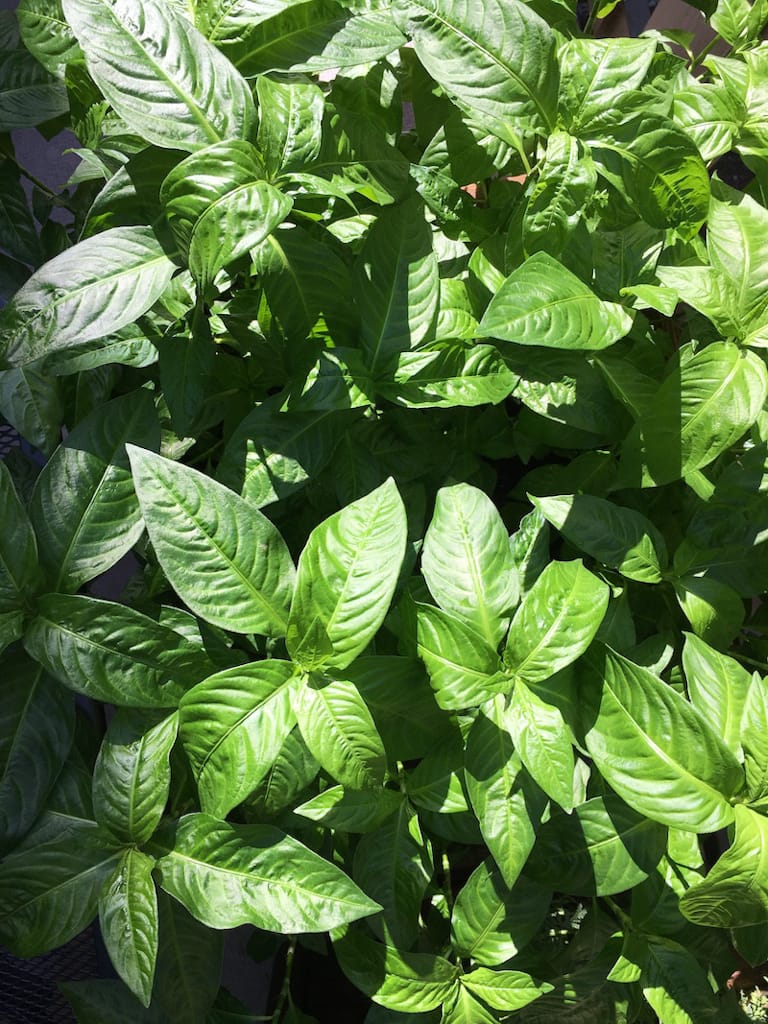
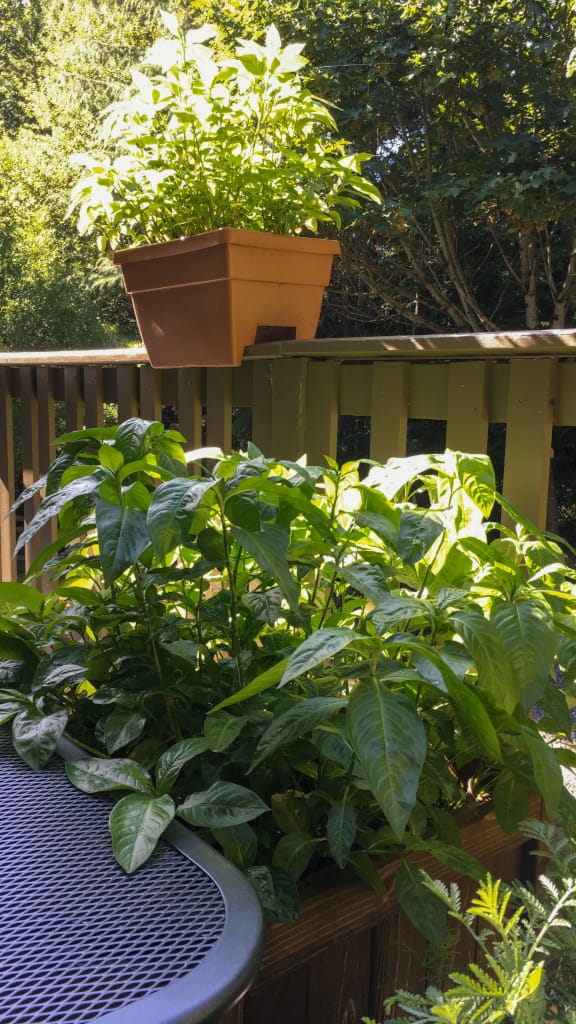
In my second year, I tried again with containers in full sun. The plant produced light colored leaves that were skinnier, less lush.
Perhaps the soil I grew them in was an issue. I used regular potting mix. I had to constantly water the plants. The roots would take up a huge area at the end of the season.
I sprouted seeds in the spring and when the plant grew to 2 inches, I planted them in soil. At the end of the season the roots could easily take up a 18 inch diameter area. Maybe I need a lot more soil to keep the plant from drying out.
Gardening dye plants takes an extraordinary amount of work and requires a ton of watering. The amount of water used to produce color is not eco friendly at all and growing is just the first step in creating natural dyes.
Why Indigo
The process of actually dyeing with natural dyes is also not eco friendly. I’ve dyed with homegrown cosmos, marigold, safflower, coreopsis and cornflower. Fibers require mordants to adhere dye, aluminum potassium sulfate is one commonly used and it is harmful to the environment in concentrated quantities (which you are using in natural dyeing). There’s a ton of water required, there’s heat, electricity or burning gas or wood to produce the heat needed to adhere dye to fiber.
I became interested in indigo dyeing, not because I like the shade of blue, but because the dyeing process is comparatively eco friendly. Indigo dyeing requires some heat, not as much. I don’t have to mordant fibers. Some processes used to reduce indigo for dyeing involves ingredients that are extremely toxic. I choose to dye with the fructose vat which just requires lime (less toxic than alternatives) and old fruit.
My interest in indigo got me into growing the plant, however, dyeing with fresh leaves is an entirely different process than the process I was experienced with using indigo powder. In fresh indigo dyeing, you have to be ready to dye when the plants are ready.
My First Fresh Leaf Indigo Dyeing Experience
I was not ready. There’s always so much to do in the garden and there’s a small window to extract optimum color. In late summer, the plant starts flowering. The plant holds the maximum blue when it’s just about to flower and flowering takes away the blue content so it’s better to dye with them right before.
Fresh leaf indigo dyeing works best on protein fibers, wool or silk. I did not know this ahead of time and was hoping to dye with something summery, like cotton or linen. Color only adheres temporarily to plant fibers. Unprepared, I ran to the yarn store and got one skein of white yarn and one of undyed gray yarn.
I followed the instructions for fresh leaf indigo dyeing from the Dogwood Dyer. I used a Vitamix to blend the fresh leaves and I was hoping that the highest setting would pulverize the leaves completely into liquid form.
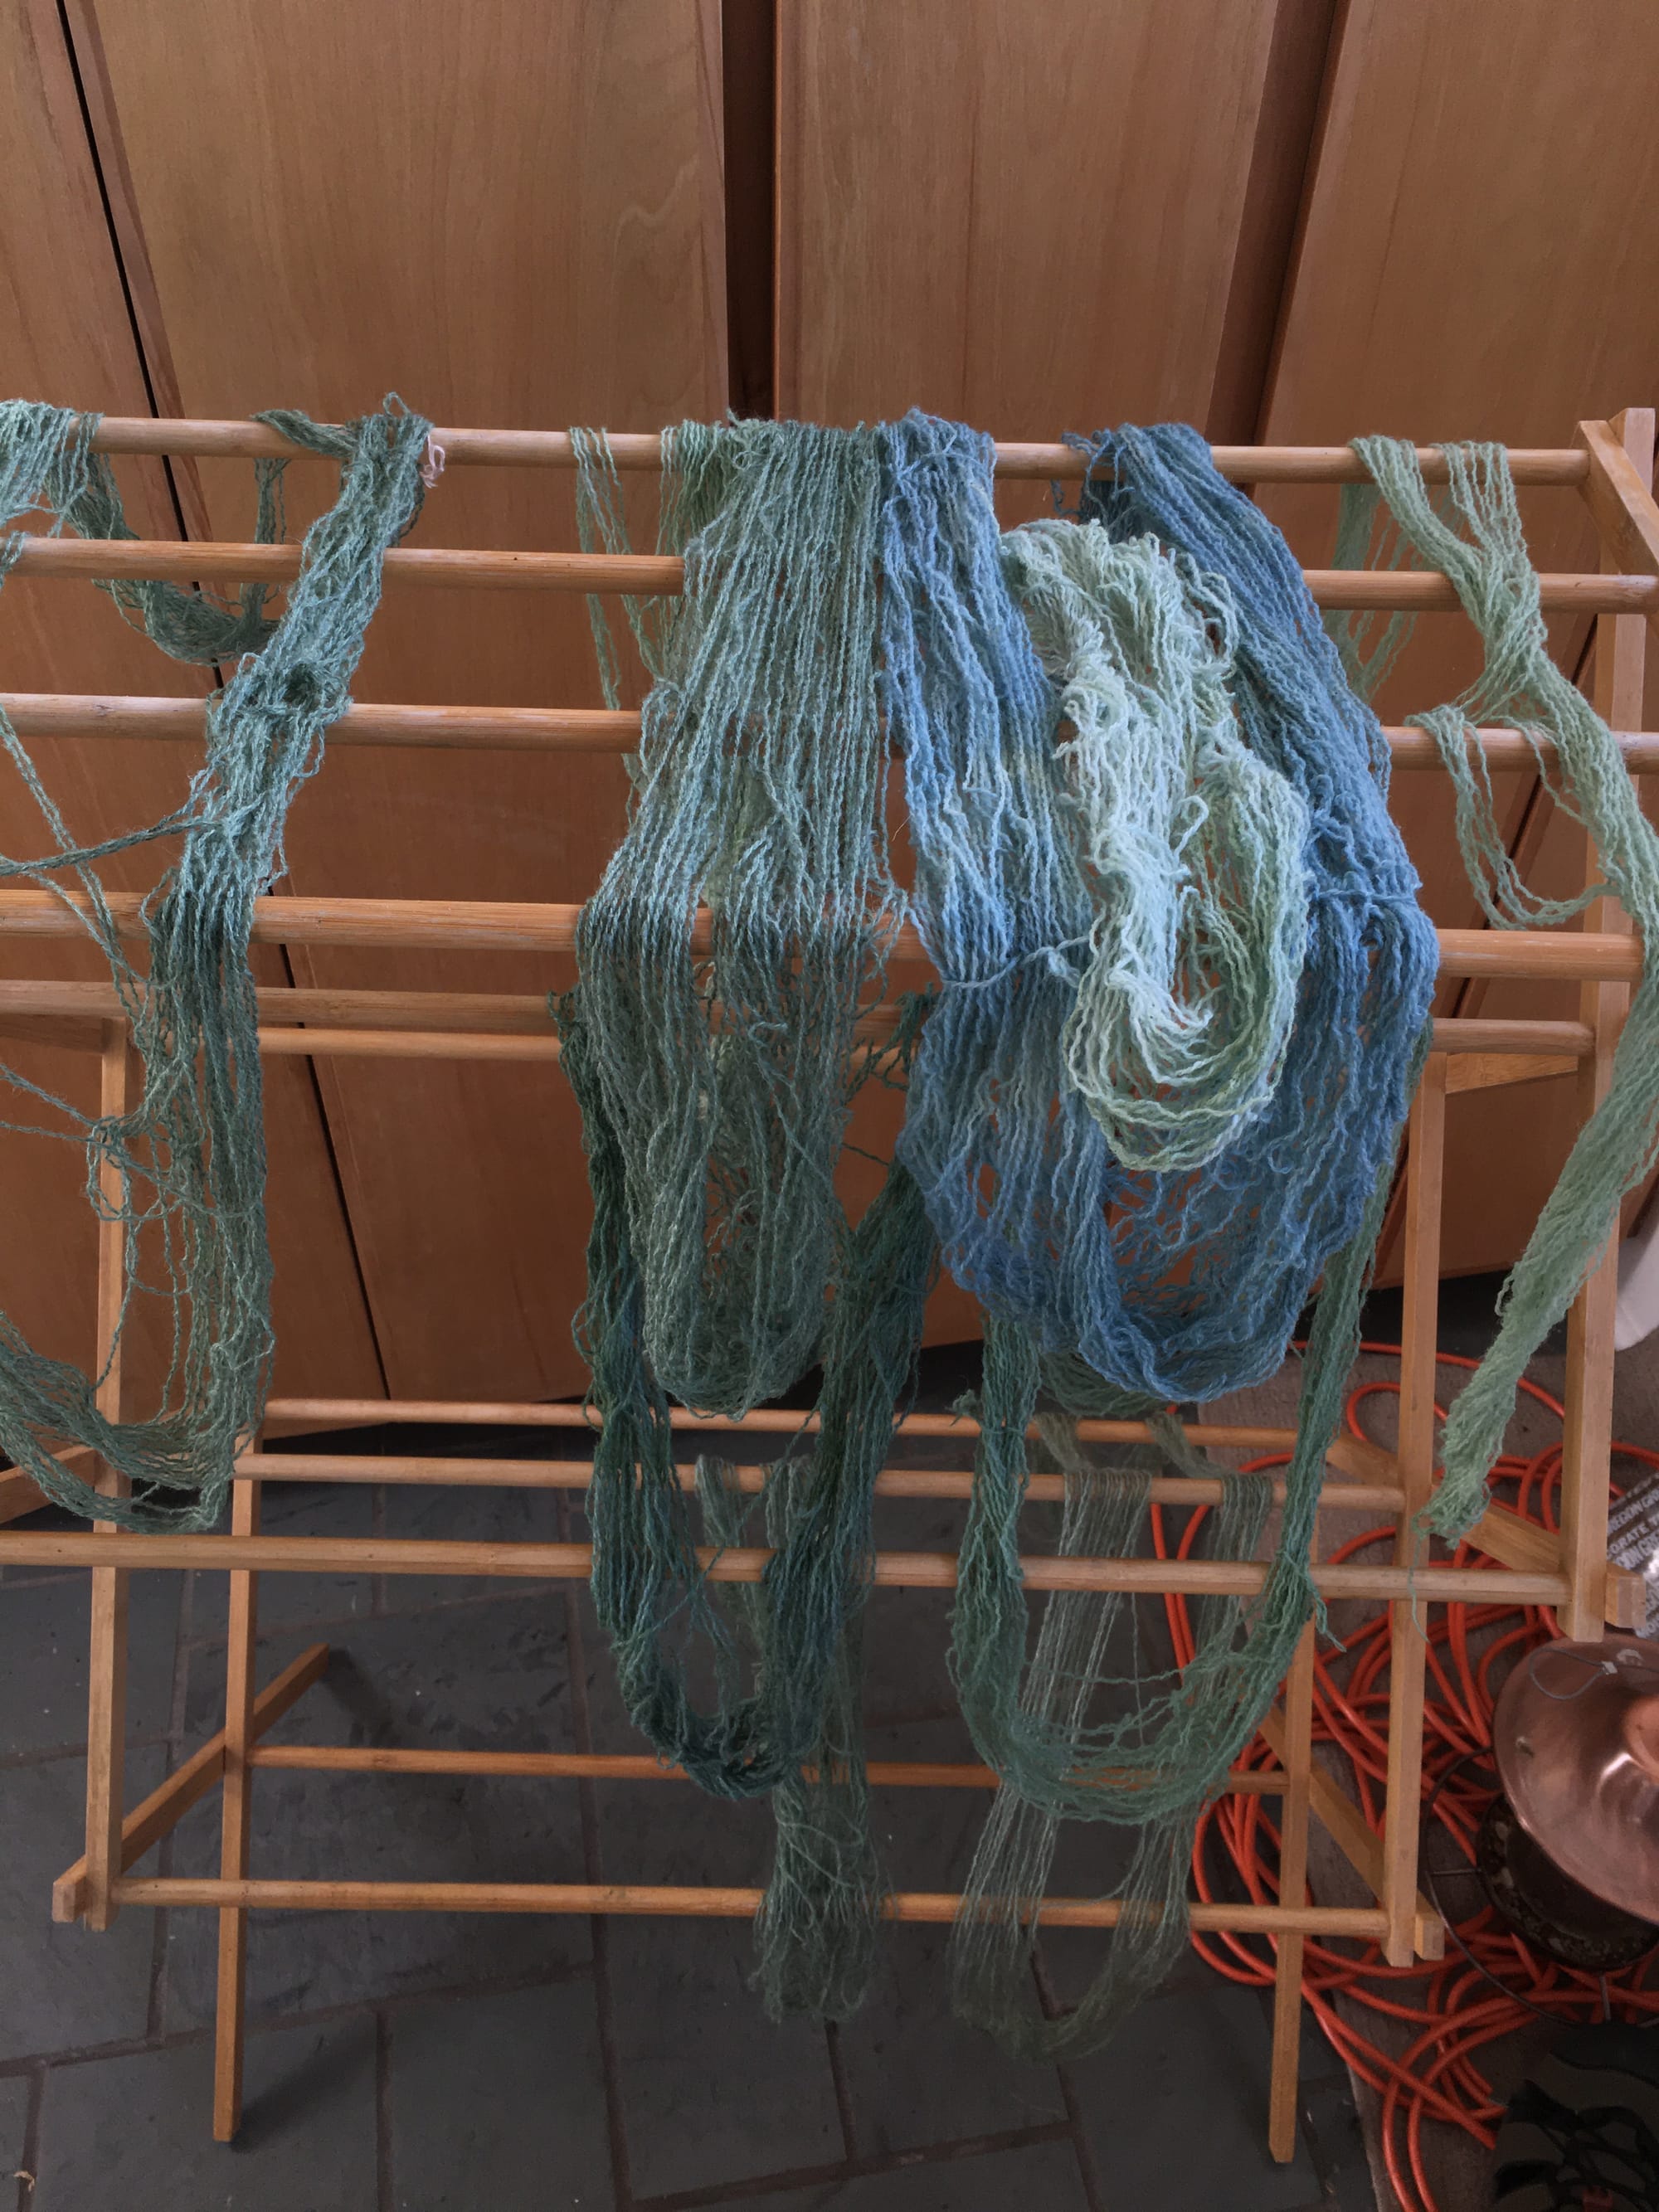
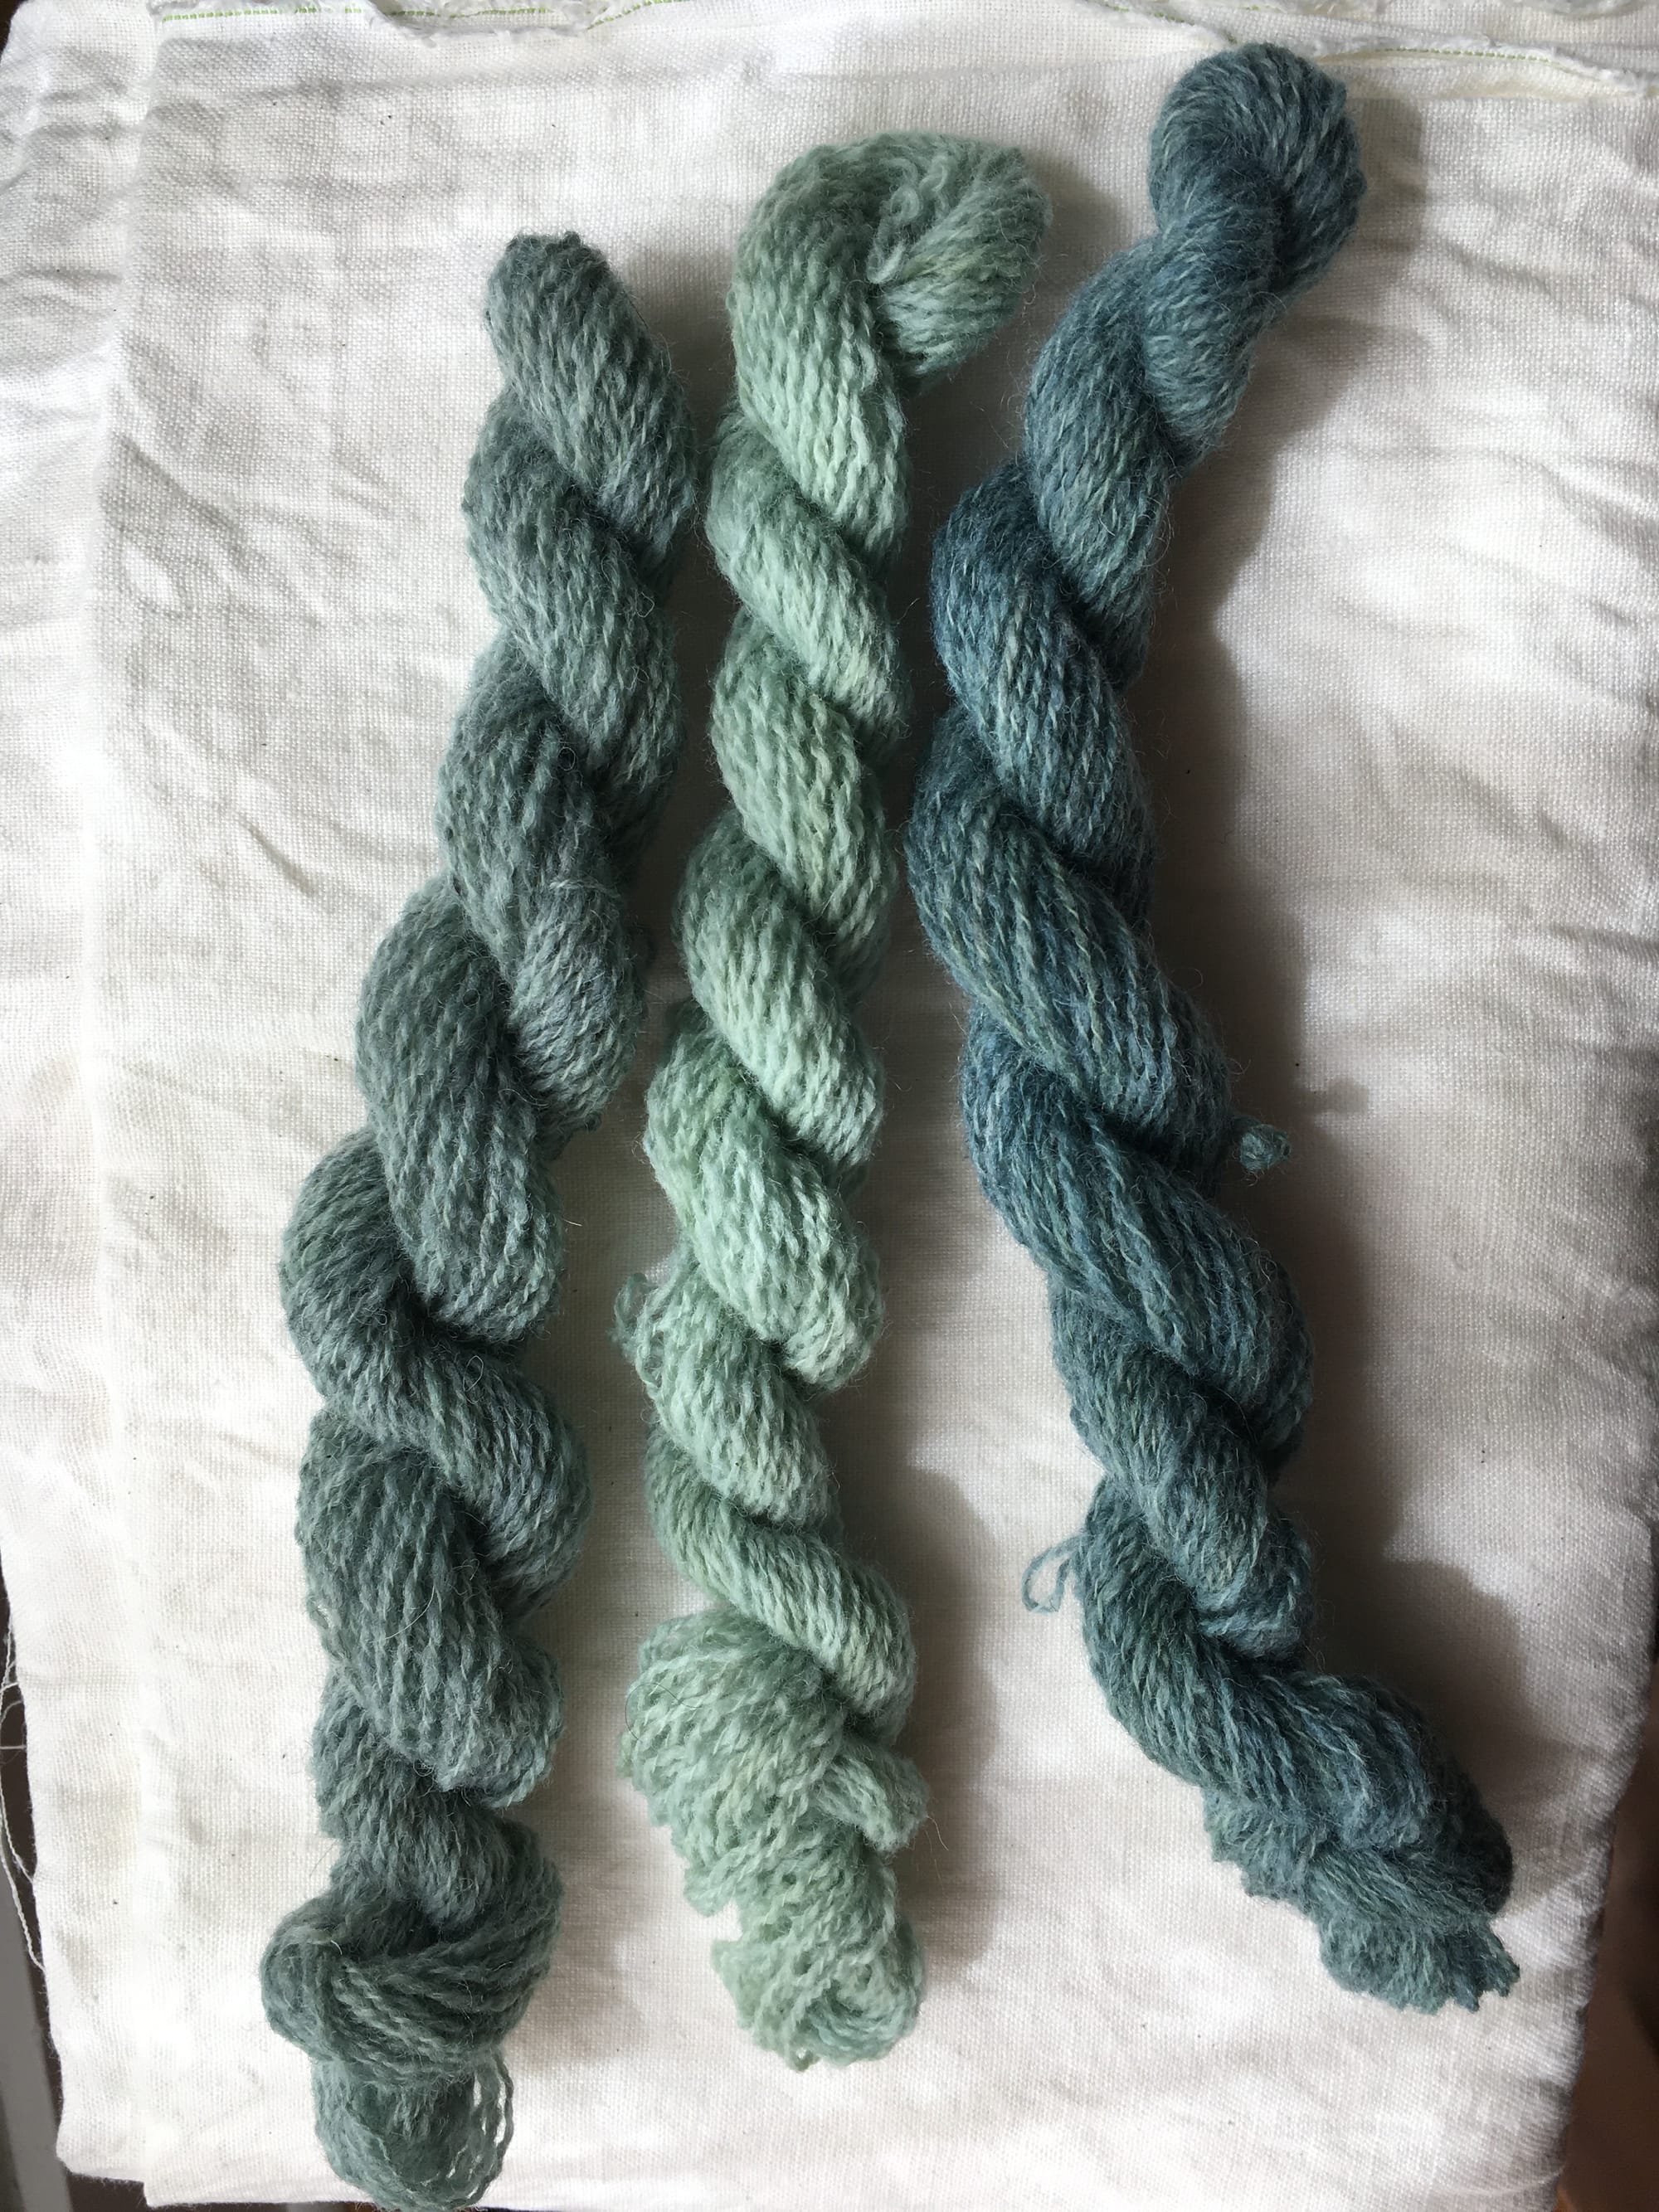
The colors varied based on whether they were in the dye pot first and the length of time they sat there. The yarns were more blue in the beginning and progressively became green. Oxidations?
That did not happen. Instead, the leaf bits remained, minuscule enough to pass through every strainer I had. The tiny bits stuck to the yarn, it was impossible to wash out. When I shook the yarn after drying, powdery bits of green came off and would continue coming off. No amount of shaking helped. I would not recommend pulverizing, just blend coarsely so a strainer can catch everything.
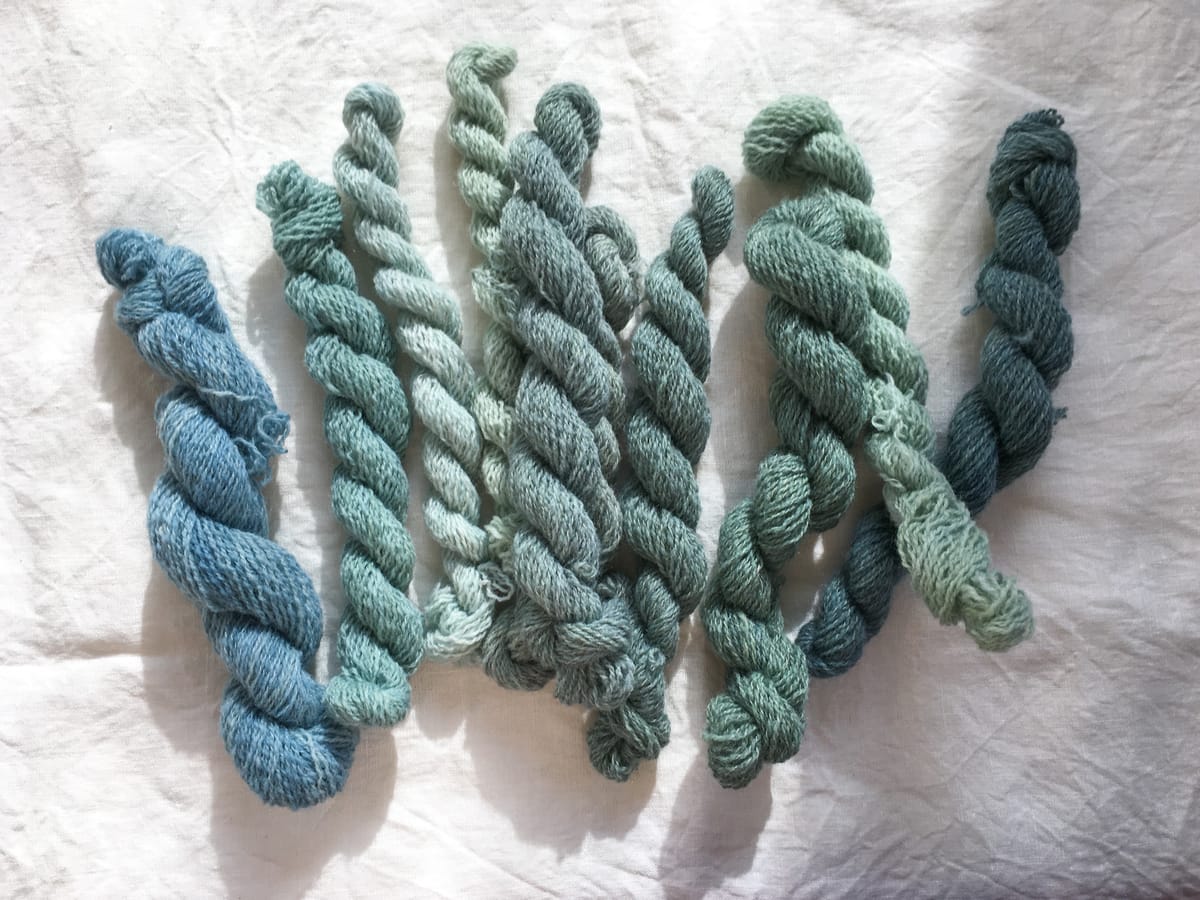
Because I was so unprepared for this experience, I was exhausted during the gooey messy dye process. However, the bright teals and blues were so exciting to see. I found all the frantic last minute work worth the result. I have no idea why color has such a hold on me.
The yarn was divided into smaller skeins so I could test out how the color may change with a different amount of time per dip. Longer dips gave me darker colors but as I worked I found out that the first dips right after the leaves are blended are more blue. The later the dip, the greener the yarn. I assume that reflects the oxidation process that happens to the cut leaves.
If only there was a way to dye when you want to…like drying and storing for later…
The first year I grew indigo, I ended up just drying the leaves and storing them for later. This took a long time to do—cutting the stems, wrapping them for hanging and then later storing them into boxes. I was hoping to ferment them but I only realized later that process was much more involved than I thought. I couldn’t see myself tending to a composting leaf pile that requires daily spraying and turning for a month before it can be processed into into a dyeable form. I ended up throwing out all the leaves.
Storing plant matter is a huge undertaking. There are huge changes in humidity in the pacific northwest and storing leaves that decay requires a place where the temperature is constant. When I smelled old leaves one day, I realized that I needed to reduce the amount of organic matter I had stored. Since I didn’t have plans on using the dried leaves, those were the first to go. All those days I spent on my first harvest went towards nothing.
The process from seed to dye is long. Usually there are articles online about dyeing with indigo. There is less information about growing indigo, probably because it covers a longer range of time and people have different experiences in different climates. I wish there was more information out there.
This year I’m going to be trying a different variety of persicaria tinctoria seeds from indigo grown in Oregon. Just like the seeds I’ve purchased my first two seasons, I am also ordering them from Grand Prismatic Seeds.
This time, I’ll be more prepared.
